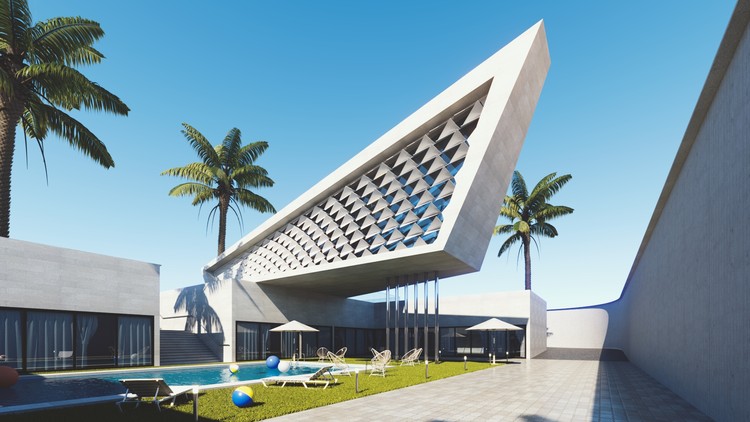
Everybody’s talking about Grasshopper. It’s an exciting way to explore parametric and generative designs in architecture — and the ability to create and render those concepts and animations to present to clients is considerably even more impressive.
V-Ray is a trusted 3D renderer that gives Rhino users the power to render everything, from quick concepts to finished designs. It also allows designers to deliver professional-quality renders every step of the way. V-Ray for Grasshopper comes with V-Ray for Rhino, which makes it quick and easy to animate and render your parametric designs.
We’ve compiled 5 tutorials from the Chaos Group experts to get you started with V-Ray for Grasshopper. Plus, to help you optimize your V-Ray for Rhino workflow, you’ll find another 5 videos to guide you through some of the best new features in the latest release.
Be sure to follow along with a free 30-day trial of V-Ray Next for Rhino.
Tutorial 1: Getting started with V-Ray for Grasshopper
V-Ray for Grasshopper (included in V-Ray for Rhino) allows direct rendering of your parametric and generative designs as part of the Rhino scene — without needing to bake geometry.
Tutorial 2: How to render an animated facade with Grasshopper and V-Ray for Rhino
Learn how to take a parametric design and explore how it looks animated. See how easy it is to create an animation of a decorative louver system with an open-and-close system.
Tutorial 3: How to render a Grasshopper shadow study with V-Ray for Rhino
Achieve stylized and schematic looks for your renders, create solar studies and imitate sunlight — all with the option to change the color and softness of shadows.
Tutorial 4: How to render an animated sun study in Grasshopper
Learn how to render sun study animations directly from Grasshopper. In no time, you’ll be able to quickly and easily set up a custom path for the sun — and animate it.
Tutorial 5: How to render an animated camera in Grasshopper
If you've ever wanted to render a walkthrough or flythrough animation of your Grasshopper design, this tutorial shows you how to animate a camera along a path.
Pro Tip 1: How to automatically set the camera exposure & white balance
See how to use the V-Ray Camera like a point-and-shoot camera. With just a click, achieve perfect exposure and color balance using the automatic exposure and white balance tools.
Pro Tip 2: How to iterate faster with GPU rendering & the new NVIDIA AI Denoiser
Take advantage of V-Ray for Rhino’s lightning-fast denoising to generate quick interactive previews. It helps you get a feel for the final rendered result quickly, so you can make design decisions on the fly.
Pro Tip 3: How to add fog & sun rays to your rendering
Learn how to add volumetric effects such as haze, fog and sun rays to your scenes for an extra level of realism in your renders.
Pro Tip 4: How to set up environmental lighting in V-Ray Next for Rhino
See how easy it is to add environmental lighting to an interior with an HDR image and the Adaptive Dome Light in V-Ray Next for Rhino.
Pro Tip 5: How to set up Lighting Analysis in V-Ray Next for Rhino
Discover how to use the Lighting Analysis tools to measure and analyze the light levels in your scene. Render false-color heatmaps and numeric overlays that show luminance or illuminance values.
For more tutorials from the experts at Chaos, see the full V-Ray for Rhino — Tutorials YouTube playlist.

